I recently finished the Sturmtiger which took a while. Not because it’s hard or anything, I’ve just been lazy and finishing it took weeks and weeks.
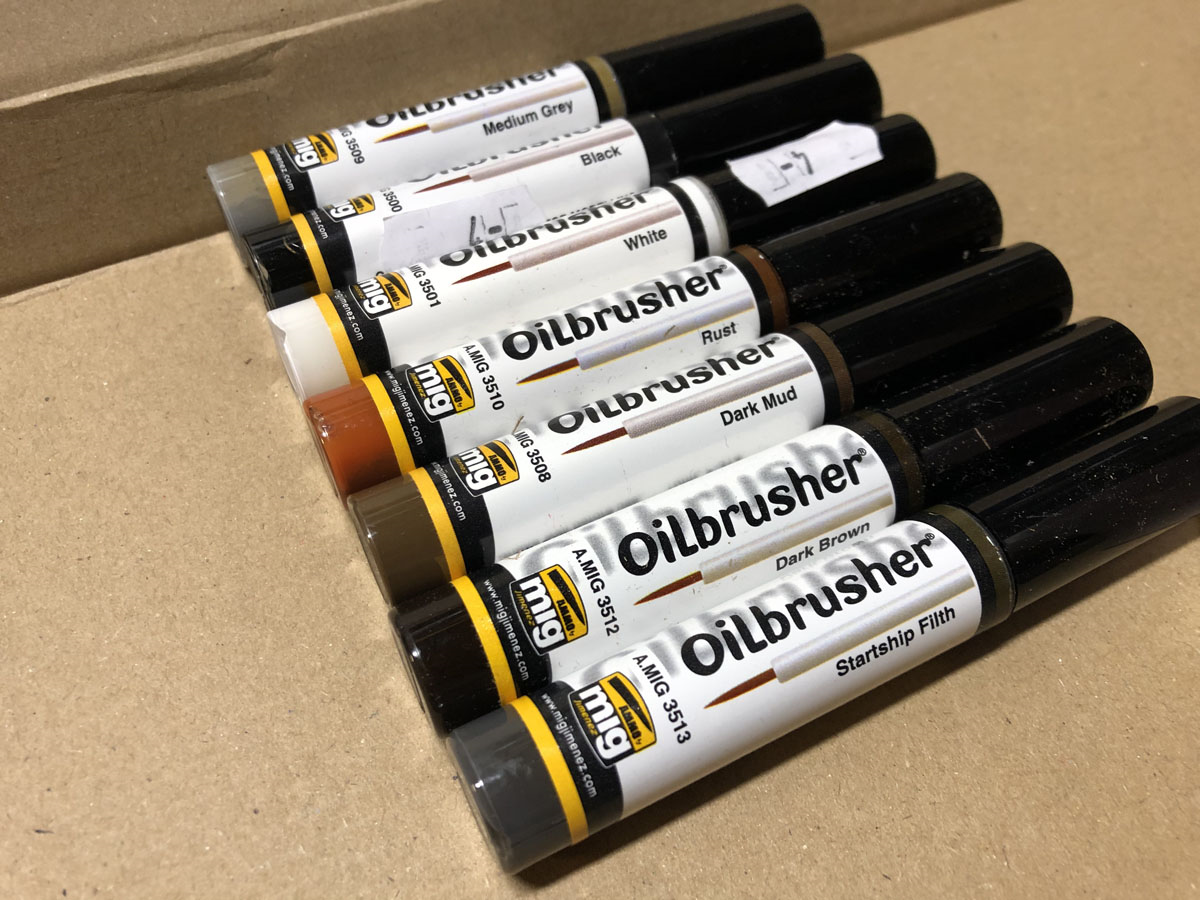
I got these Ammo by Mig oilbrushers just in time to use with this kit. My previous experience with oil paints consisted of only one try when thrashing the T-34/85. I never knew how easy and rewarding these oilbrushers could be. In addition to the regular tones like black, grey, brown, rust and so on I was recommended to get one name “Starship Filth”. Note that the one I got was from the batch with a typo in the title. Starship Filth is amazing. It’s perfect for practically any surface, regardless of the color underneath. It gives a wonderfully balanced touch of grime and really makes the surface look dirty.
I won’t be writing much about building the kit. It’s basically a regular Tiger hull but with a fixed superstructure with a huge gun and no rotating turret. I’ve grown to like these individual track links, as long as they come like these, and not in four pieces per track link like the Amusing Hobby Jagdpanther II kit that’s still waiting for those tracks to be finished.
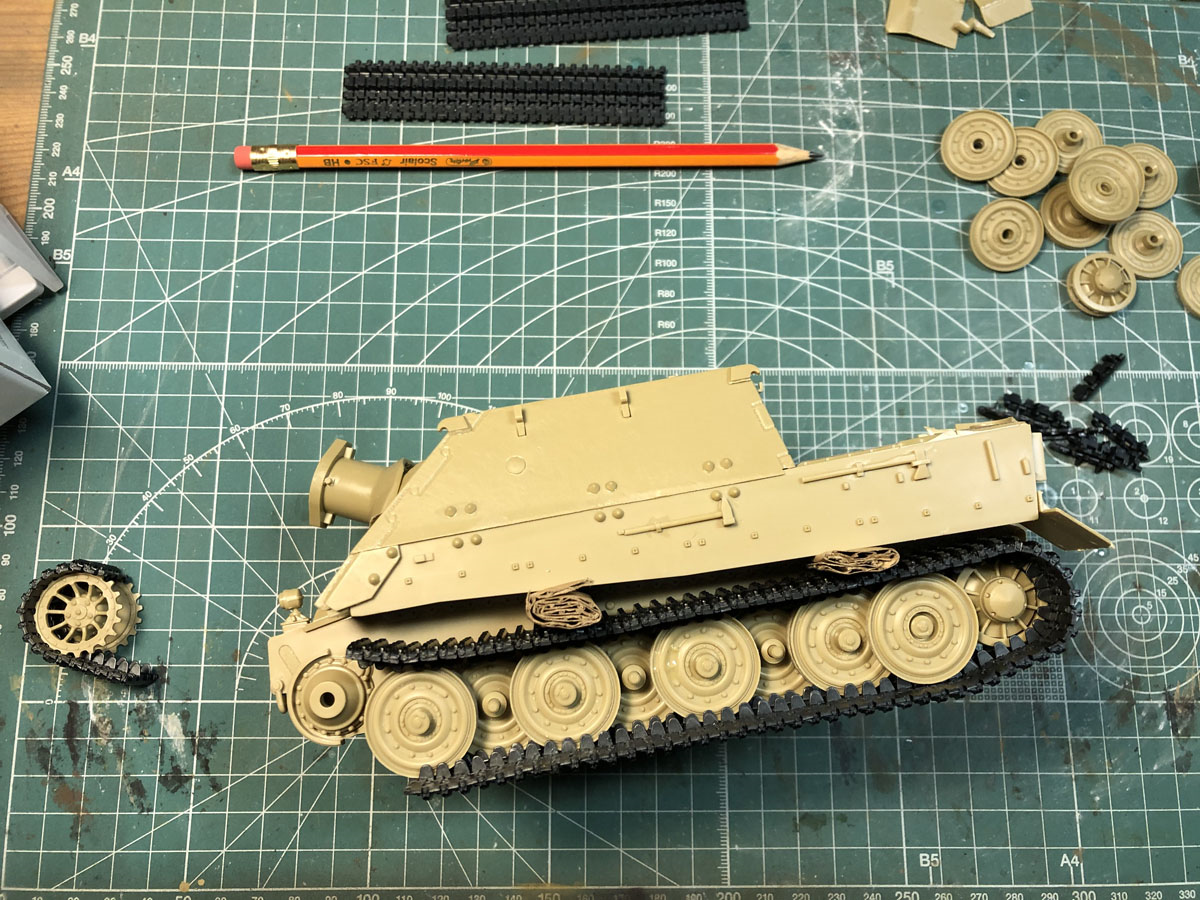
I like to build segments of roughly 10 track links and then put them together with cement. Here you can see that I was cementing the tracks to the inner and middle wheels but leaving the outer wheels uncemented at this point. I love it how you can make the tracks sag just right using these individual track links instead of the rubber band tracks.
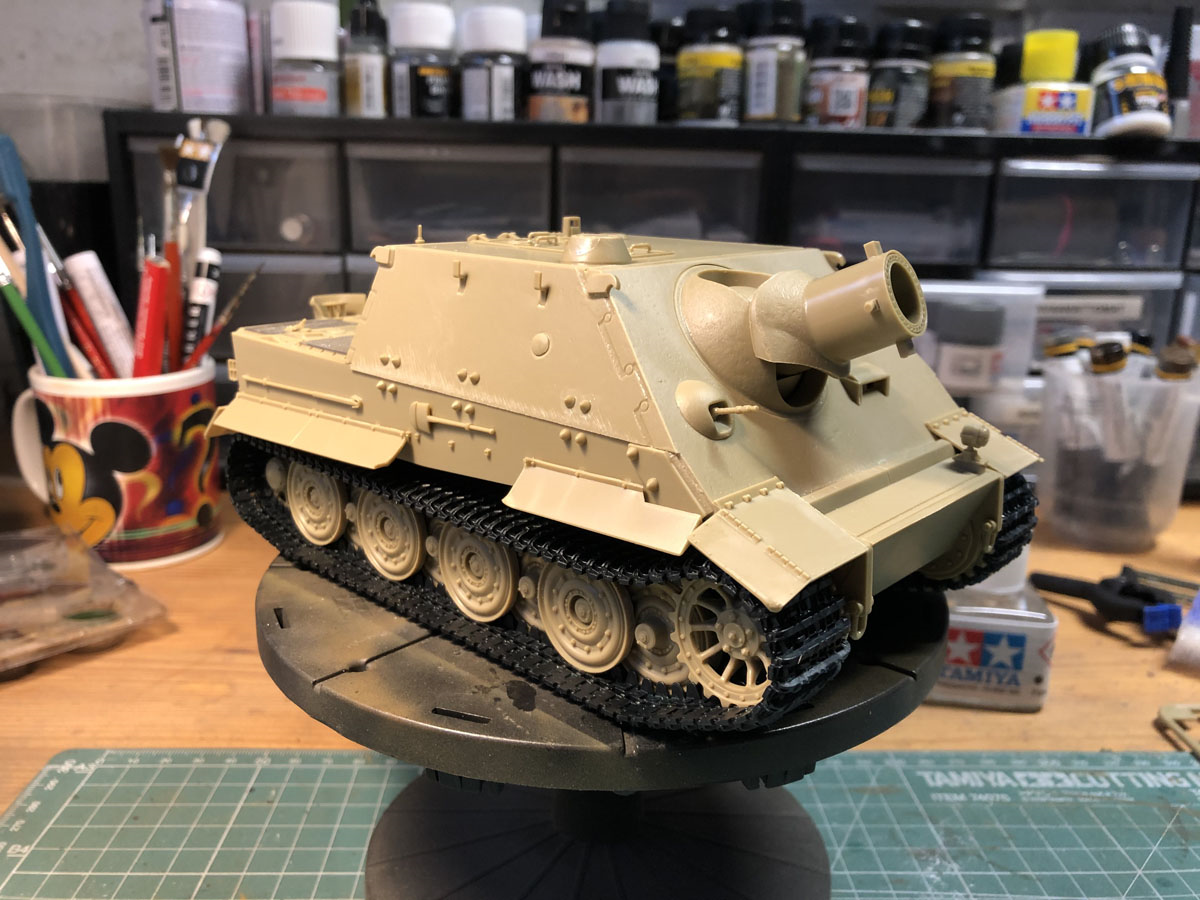
Here we have the Sturmtiger ready for painting. For the first time I cut the sideskirts a little and bent some of the corners of the fenders and the exhaust covers.
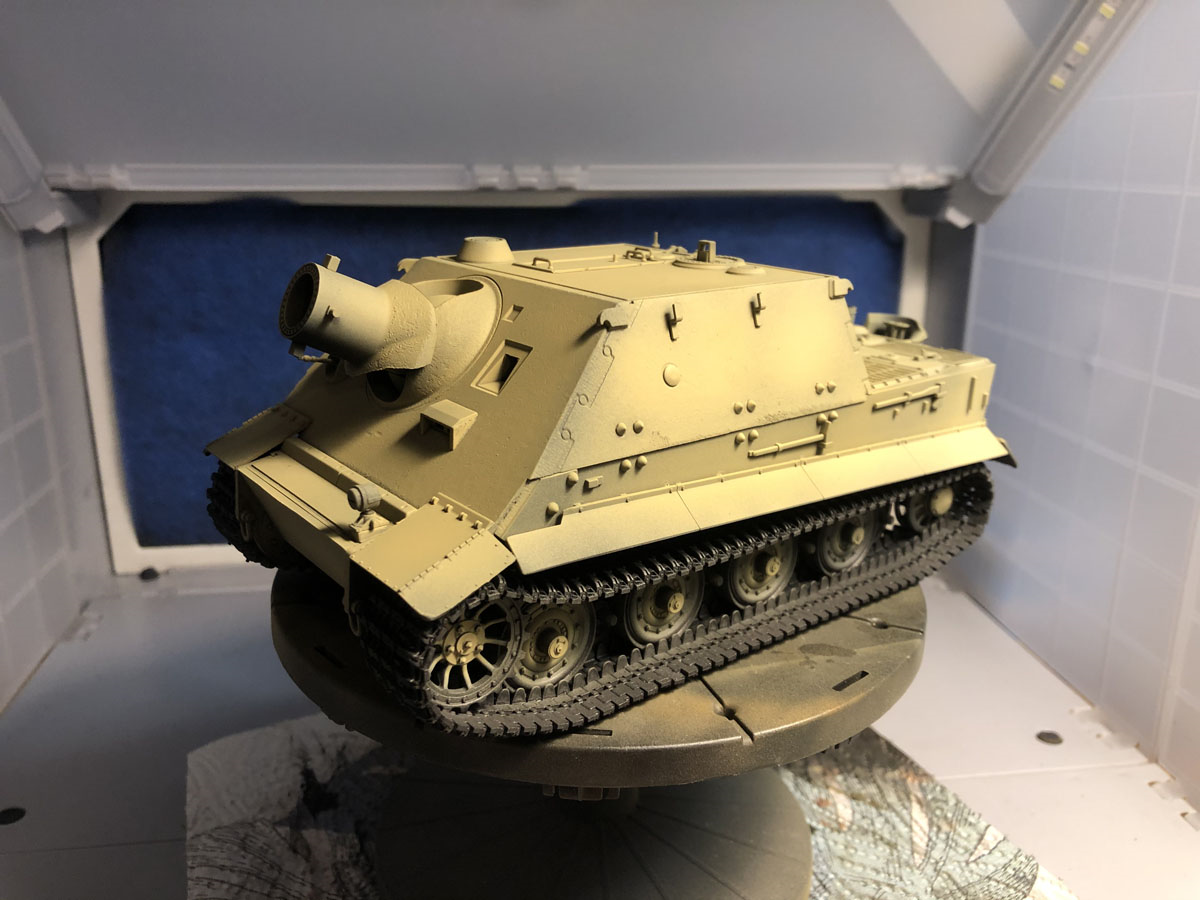
First I airbrushed the whole tank with black base coat and then Tamiya XF-60 Dark Yellow. The track & wheel combos I airbrushed first with my own track mix which is flat black, metallic grey and red brown. I spent at least a week thinking about the color scheme. I didn’t want to use the regular German dark yellow – green – red brown camo, because I already have several tanks like that.
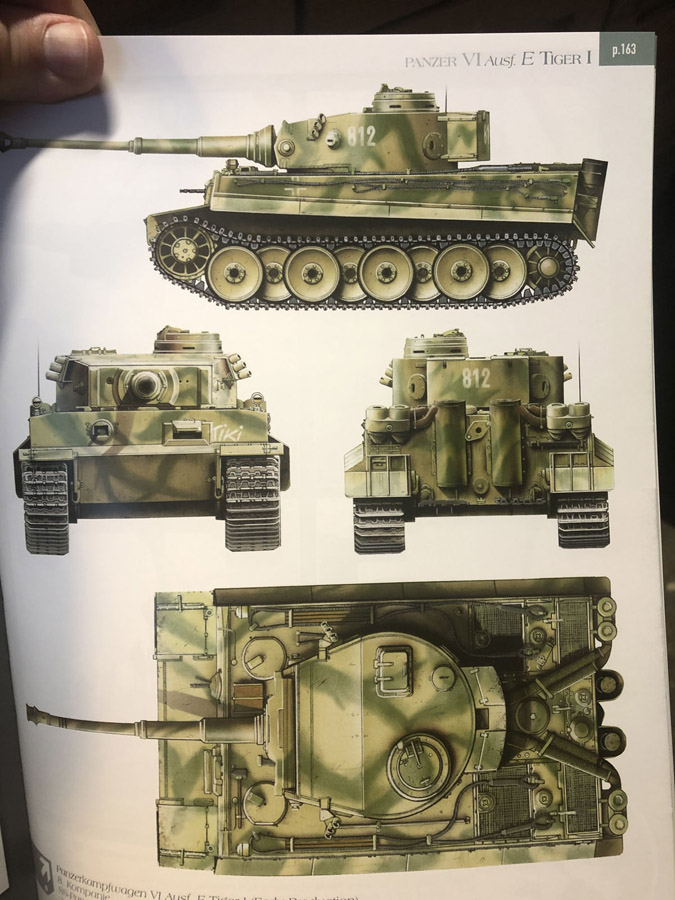
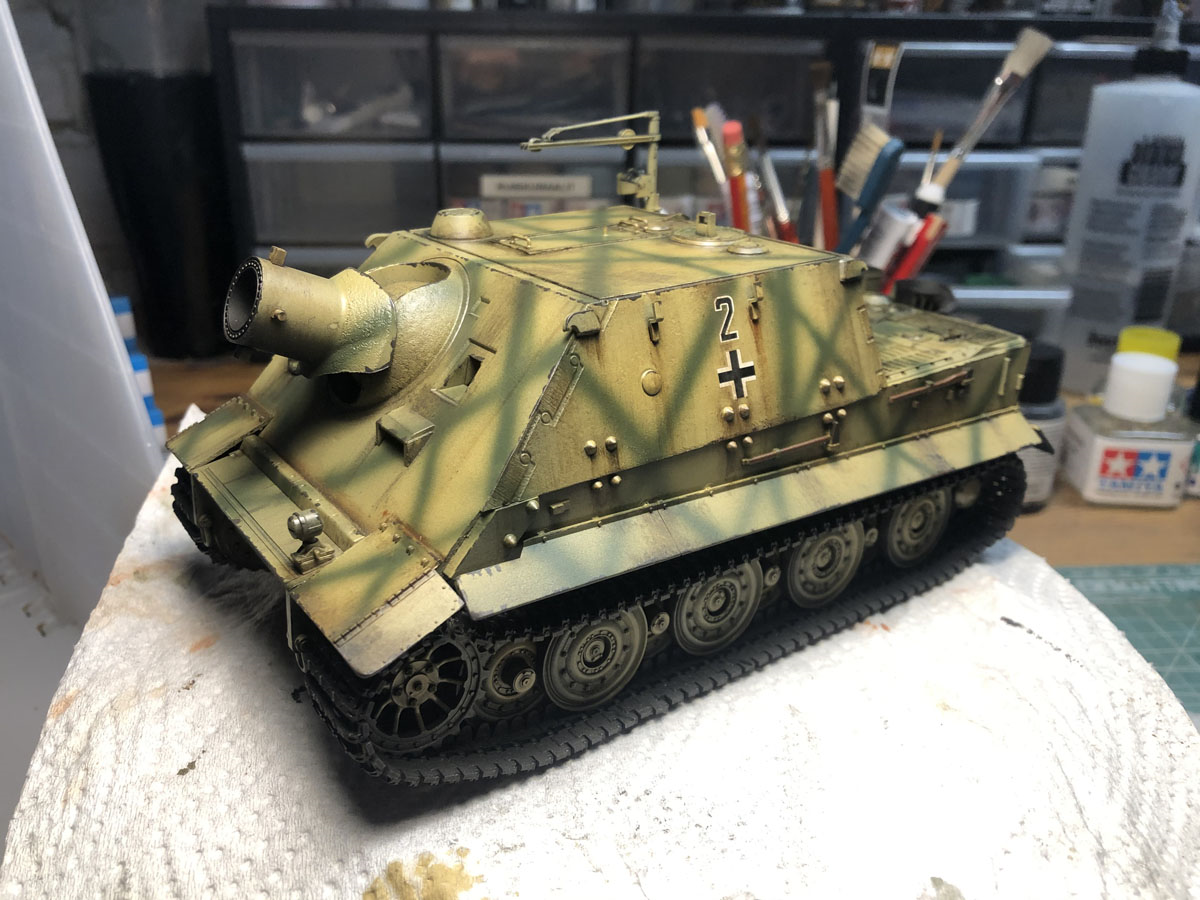
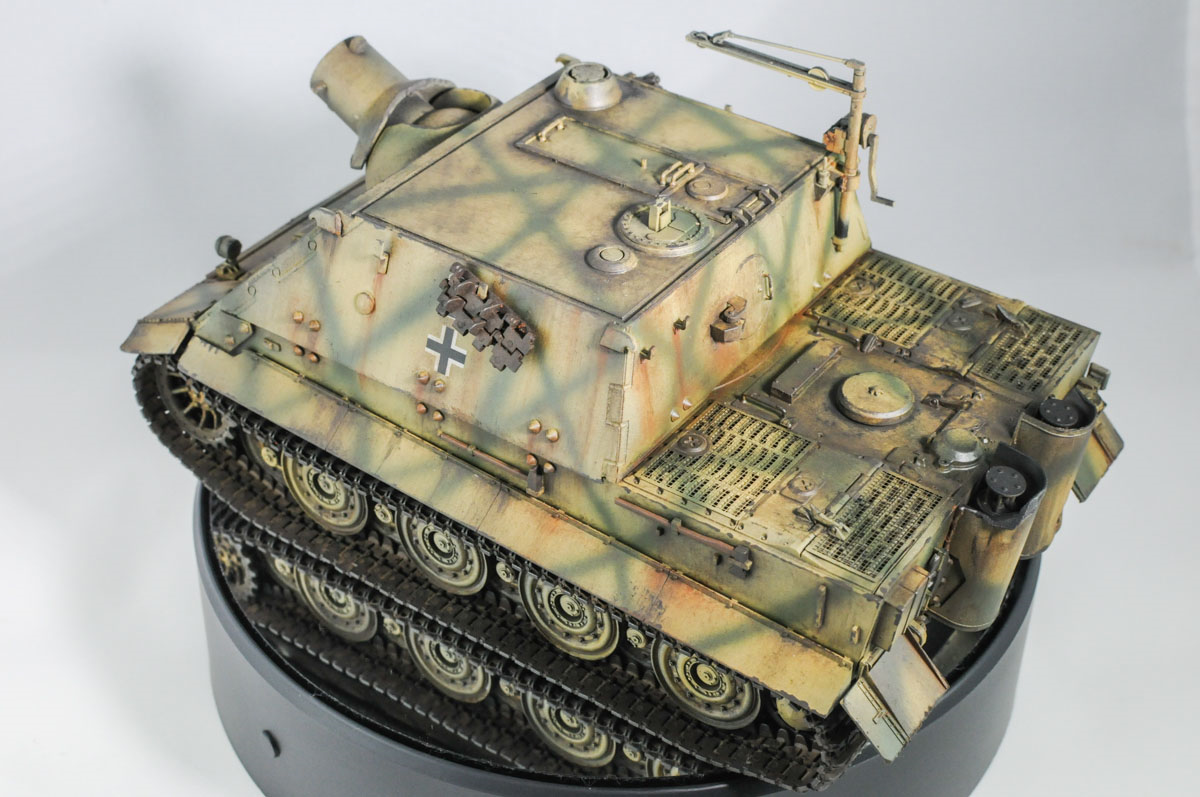
Eventually I noticed this nice Tiger camo in a book of German WWII camos and decided to use that applied a bit.
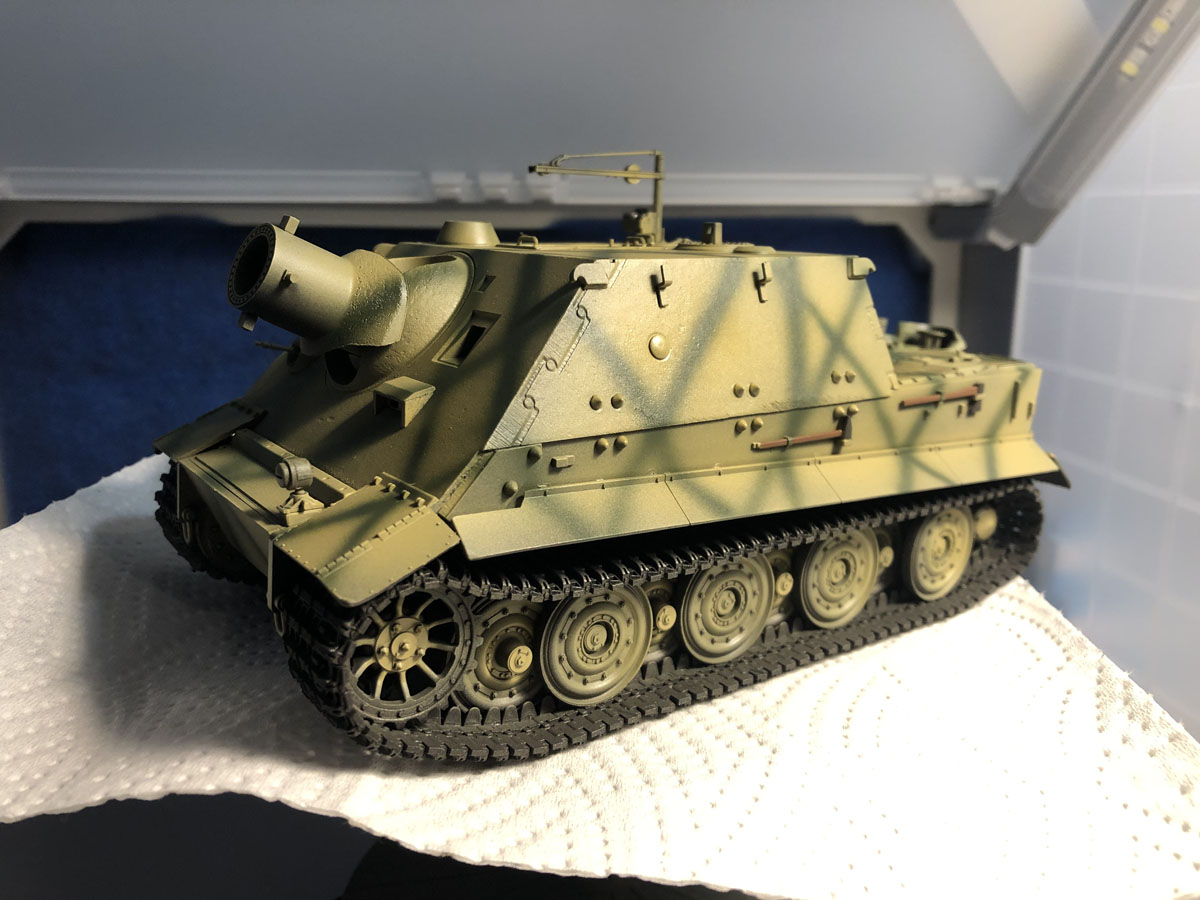
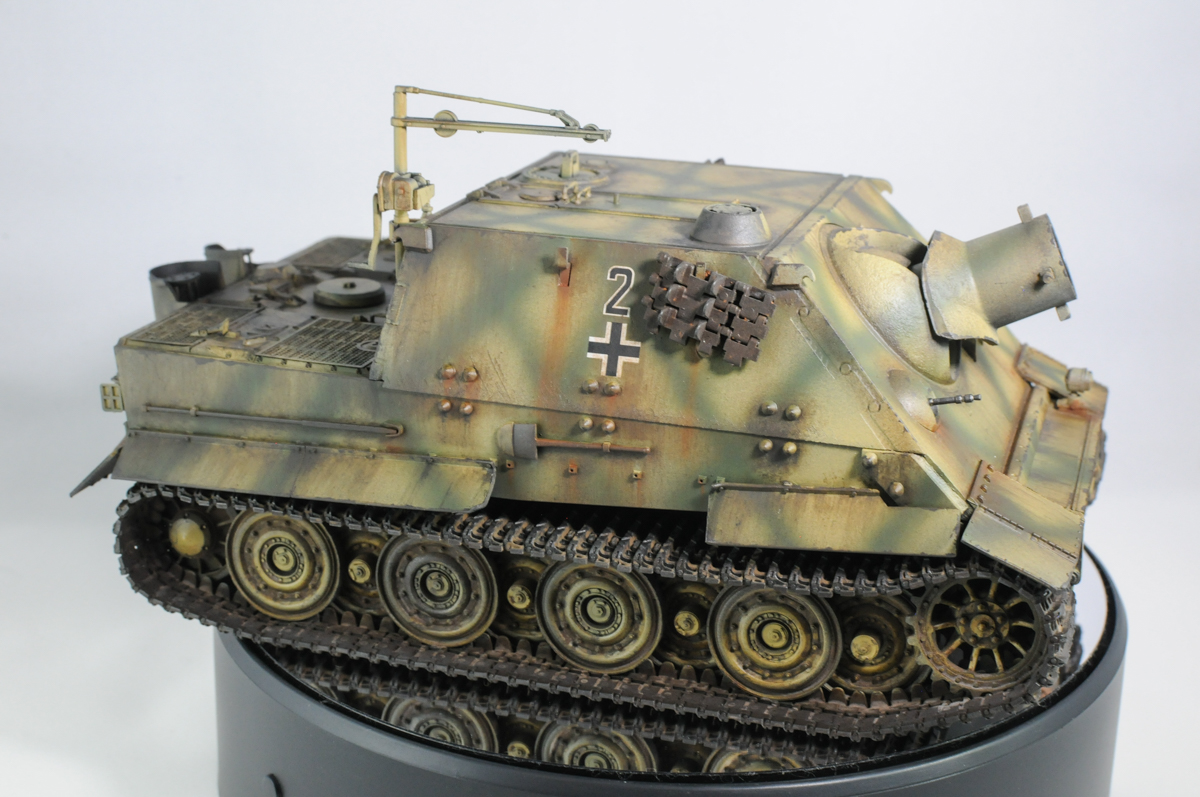
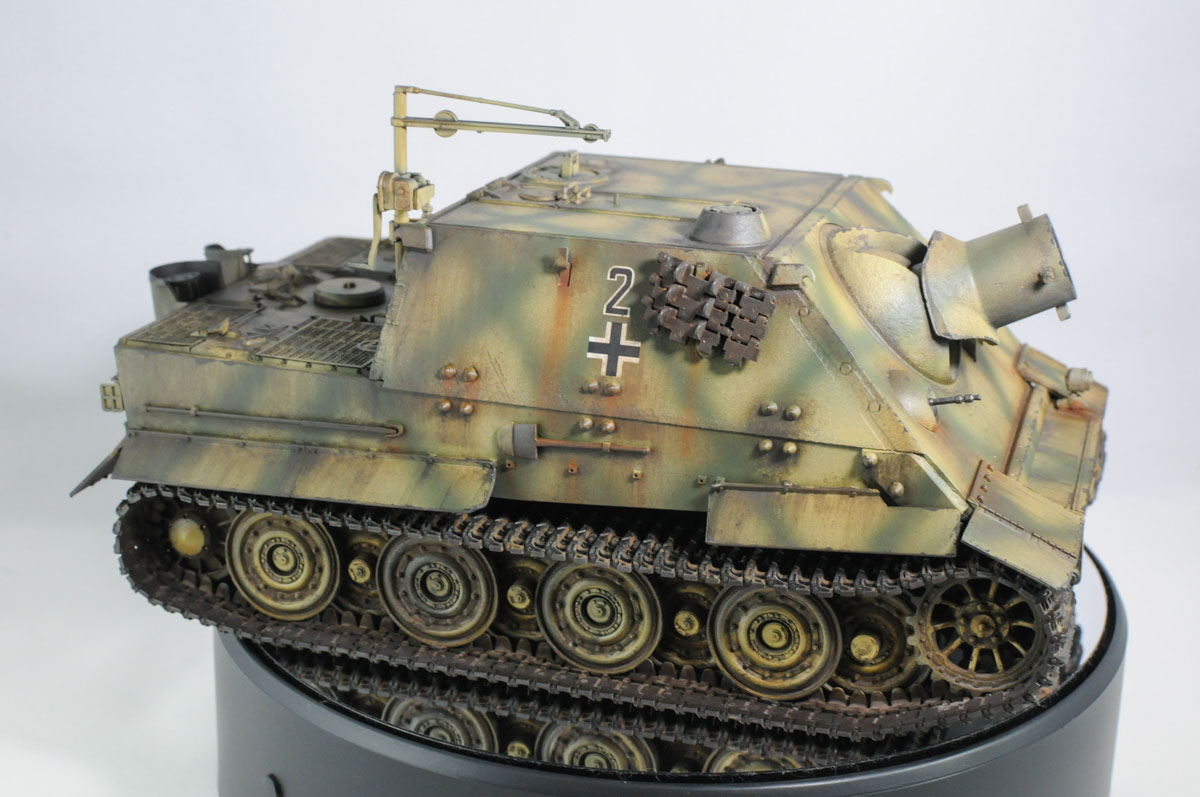
It turned out nice in my opinion. I painted the tools as well and applied a clear coat. The decals I also added in my own way because I wasn’t happy with the instructions and I had seen a better Sturmtiger on the Internet. I used the ‘2’ and the balkenkreutz from some of my previous kits. The Sturmtigers were so rare that I didn’t want to give it any bigger number.
There we have already applied some black, brown, rust and Starship Filth oilbrushers. Just applying a drop here and there and then tapping and brushing with a brush that has been slightly dipped into thinner and then wiped the excess on a paper towel. All Tiger variants are great for practicing these techniques since they have huge flat surfaces.
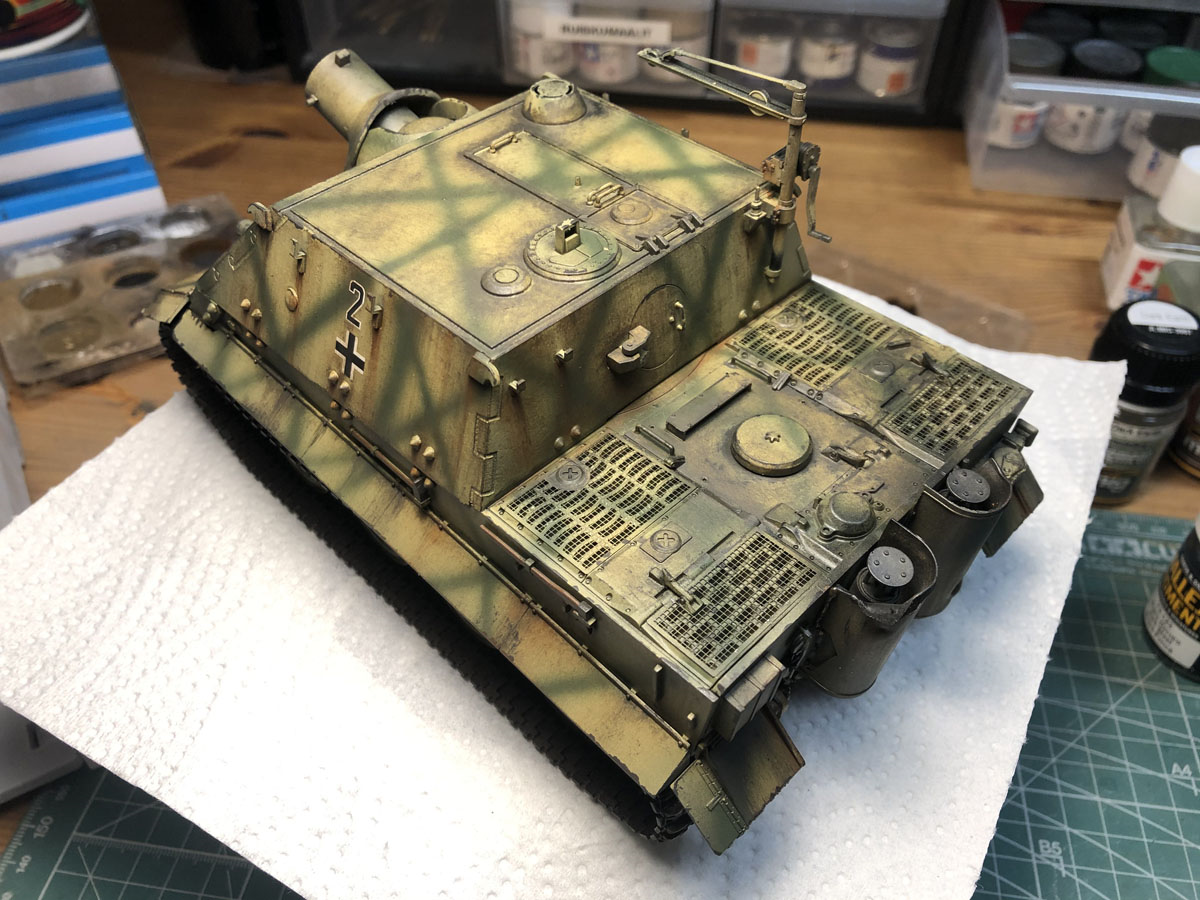
I applied the rust and brown oilbrushers mainly on the hooks, nuts and bolts on the sides, as well as the sideskirt panels. I used more black and Starship Filth oilbrushers around the hatches, around the gun mantlet and on the engine deck. Once I was happy with all the chipping, oilbrushers and those, I applied a flat coat all over the tank.
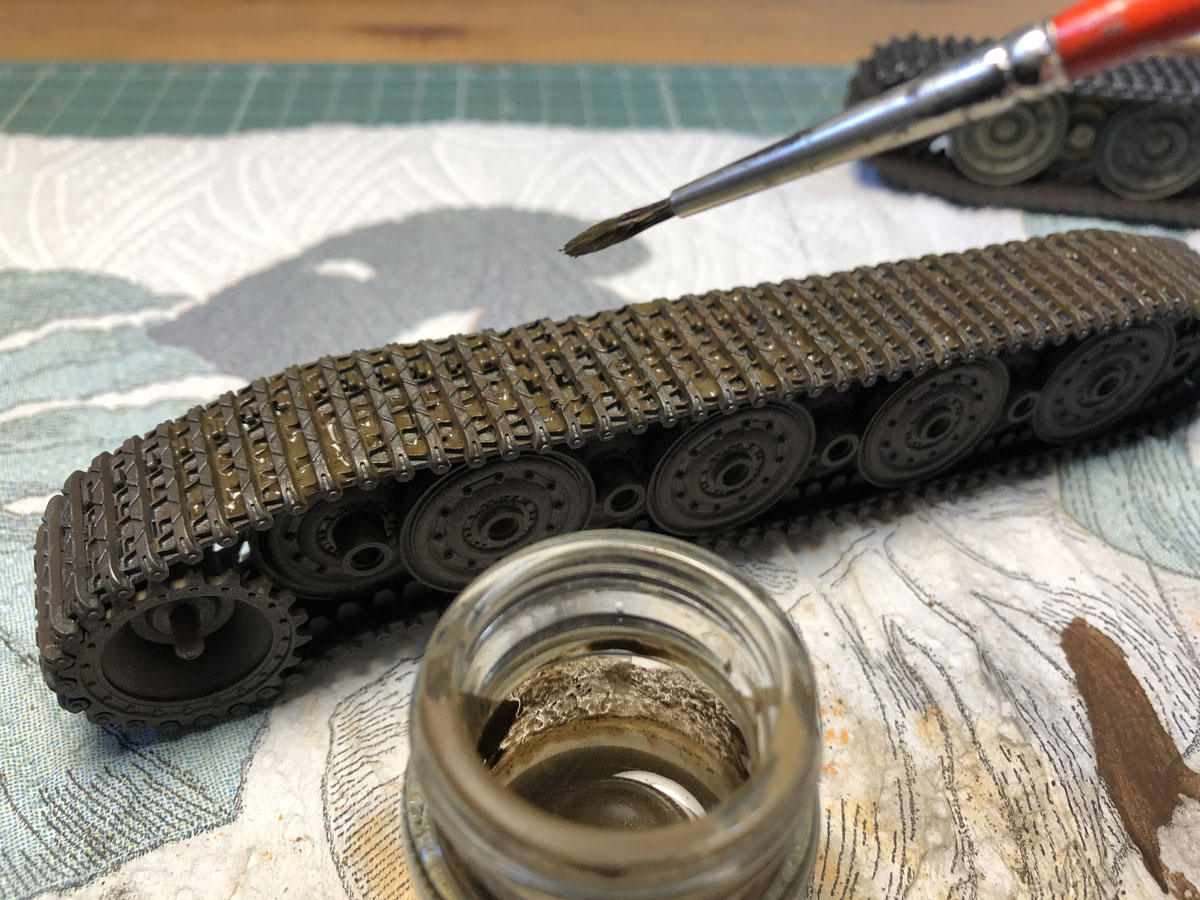
Using pigments has been my Achilles’ heel and I wasn’t sure if wanted to use them at all with this build. I watched some more YouTube tutorials and decided to give it another go. I mixed some dark earth pigment, natural umber and water for the tracks and wheels.
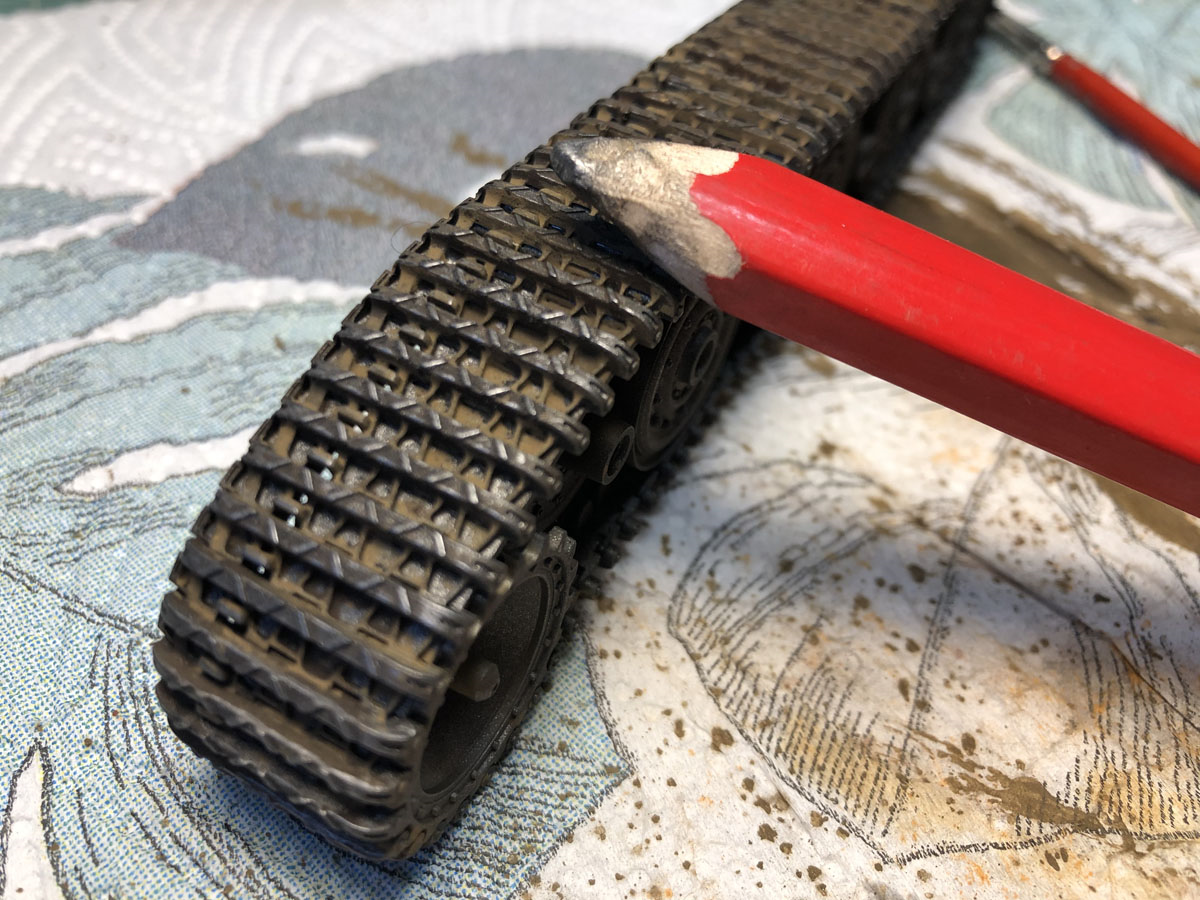
I always like to brush the elevated parts of the tracks with a handyman’s pencil.
Since there were quite a lot of extra track links I wanted to add some hanging from the side hooks. The ammo crane could still use a cable like there is in the box art. The cable wasn’t included in the kit so I have to come up with a suitable one.

So there we have it. I can’t wait the next builds and using the oilbrushers with them. This was another solid Tamiya kit with no surprises of any kind. The tracks excluded it’s probably a 5-hour build or something like that. For me it took almost two months because I took some long brakes during the build.
Kit details in Scalemates: https://www.scalemates.com/kits/tamiya-35177-sturmtiger–131949