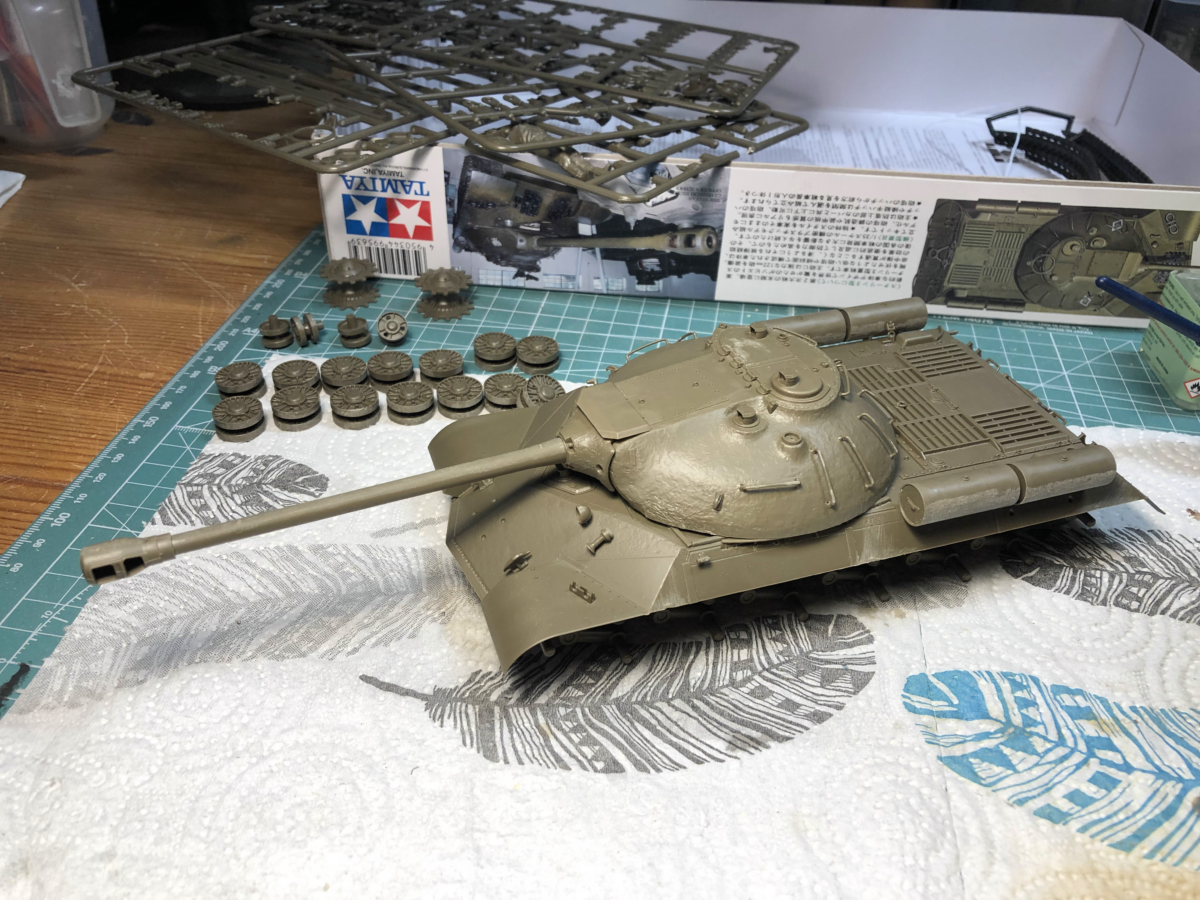
This 1996 Tamiya JS3 (or IS-3 like I learned to know it in World of Tanks) is a nice, fairly inexpensive basic kit. It’s already quarter of a decade old, but still high Tamiya quality. All the parts fit together very well and I don’t remember cleaning any extra sprue from any of the parts.
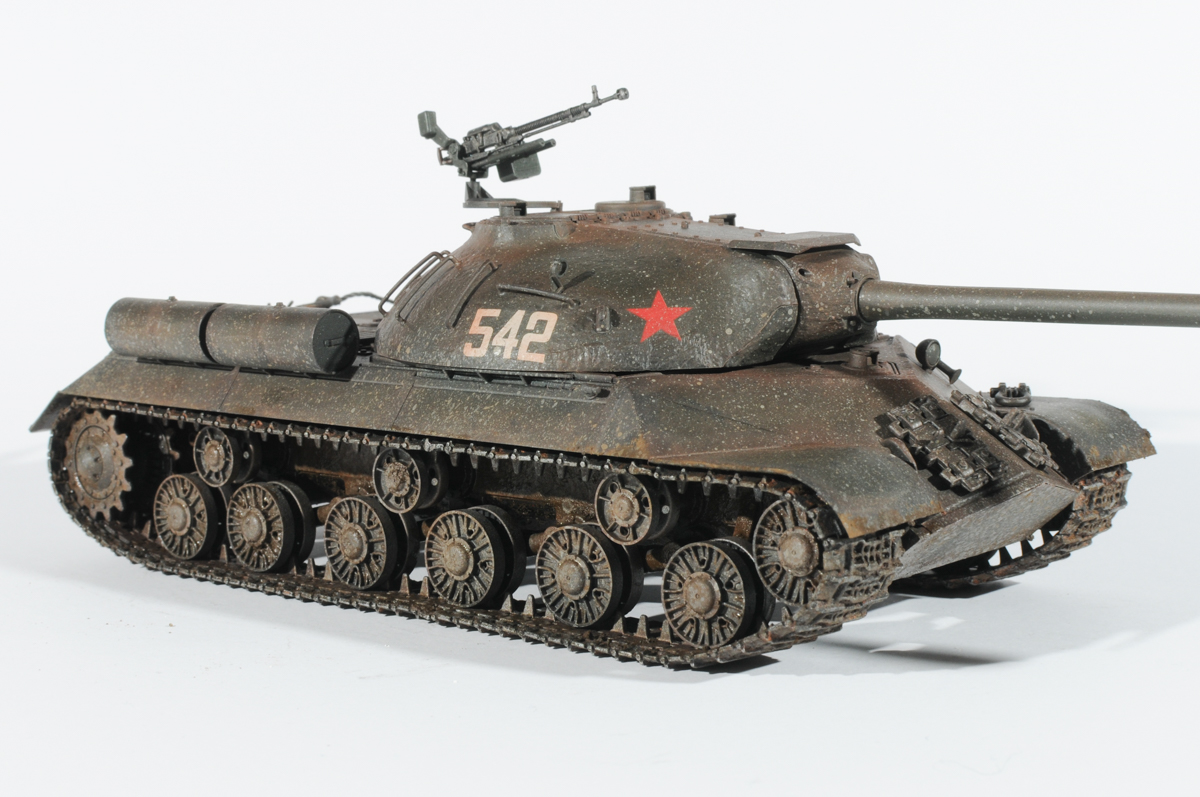
One thing I loved about this kit in particular is the very nicely detailed rough turret cast texture. It was the first kit for me where I used the Tamiya decal adhesive liquid to make the red star decals really sink in the surface texture.
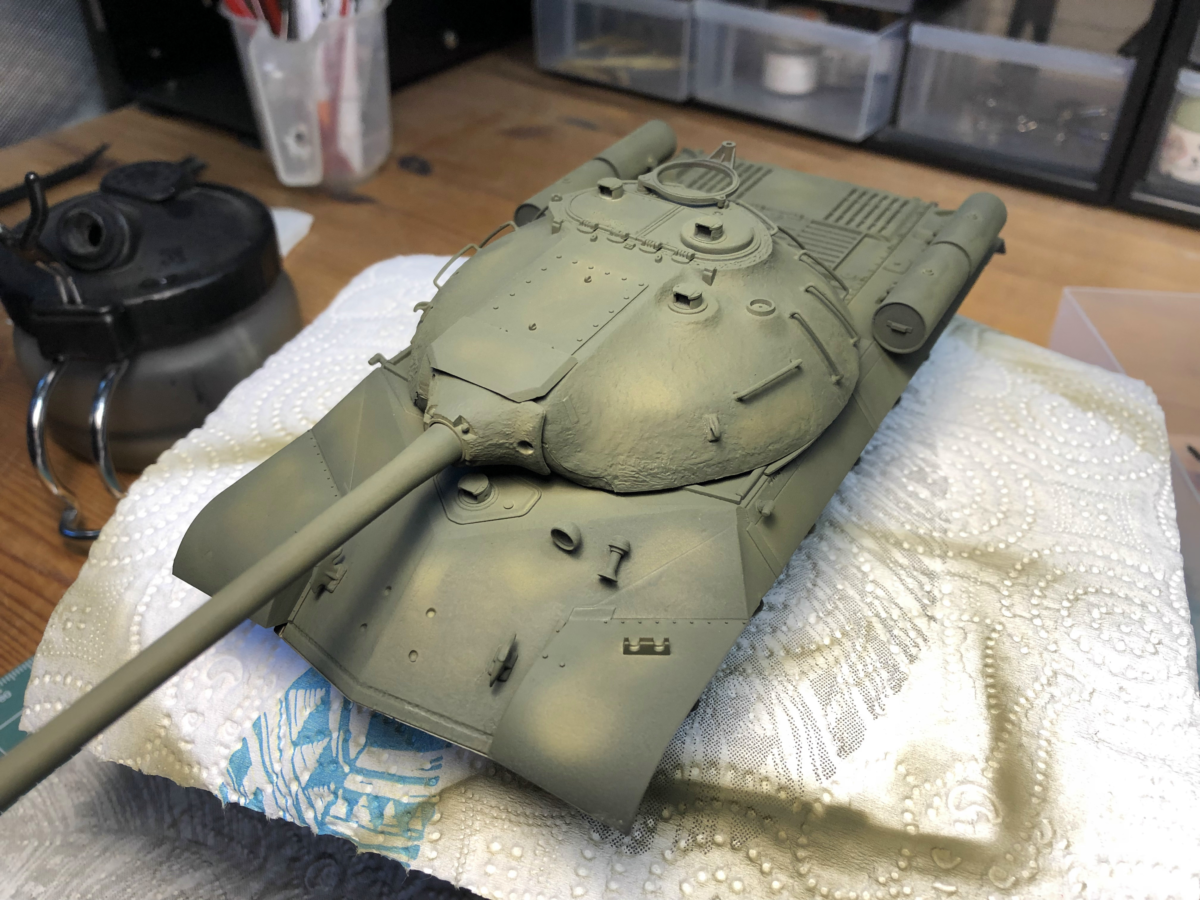
As usual I first painted the entire tank with Tamiya XF-1 Flat Black as shadow coat. Then I painted some of the bigger flat areas with Tamiya XF-2 White. Next it was Tamiya XF-62 Olive Drab. Because the clear and flat coats to be applied later make everything a lot darker, I should have adjusted the olive drab even lighter.
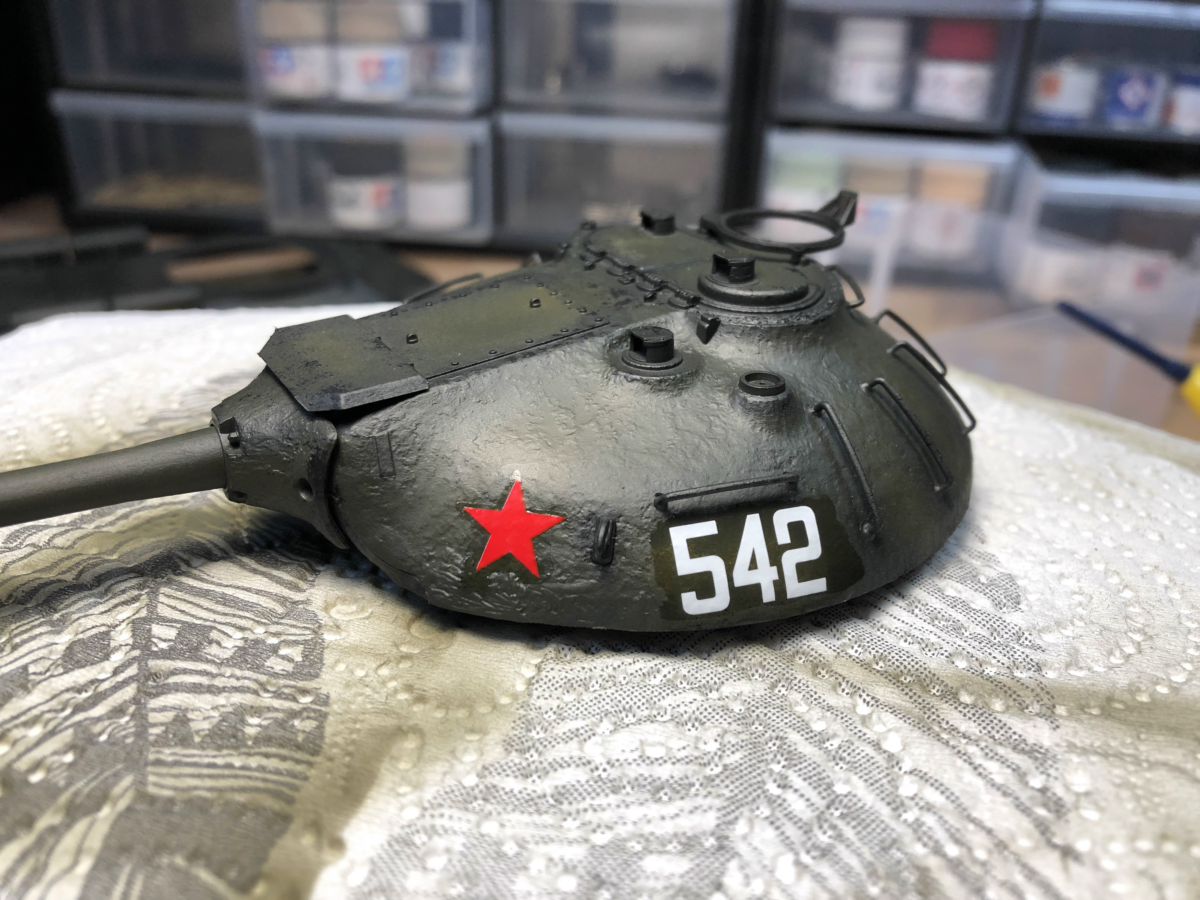
As you can see here, the green has turned much darker after applying the clear coat to seal the paint and to prepare for decals. Decals were added with Tamiya Mark Fit Strong and Tamiya Decal Adhesive has been applied. Also some dark panel liner has been added around the bolts a hatches and the entire tank has been dry brushed with XF-1 Flat Black.
When I built this kit in 2019 I didn’t do weathering at all. Only added some dirt and rust pigment to the tracks. My thought was that I will do it later once I get a proper idea. That idea came up in September 2020. I saw Spence the Model maker‘s tweet about his Chieftain and how he had made the very nice dust effect by spraying very thinned khaki paint and then removing the excess with a flat brush and a cotton swab. I wanted to try that on my IS-3 too.
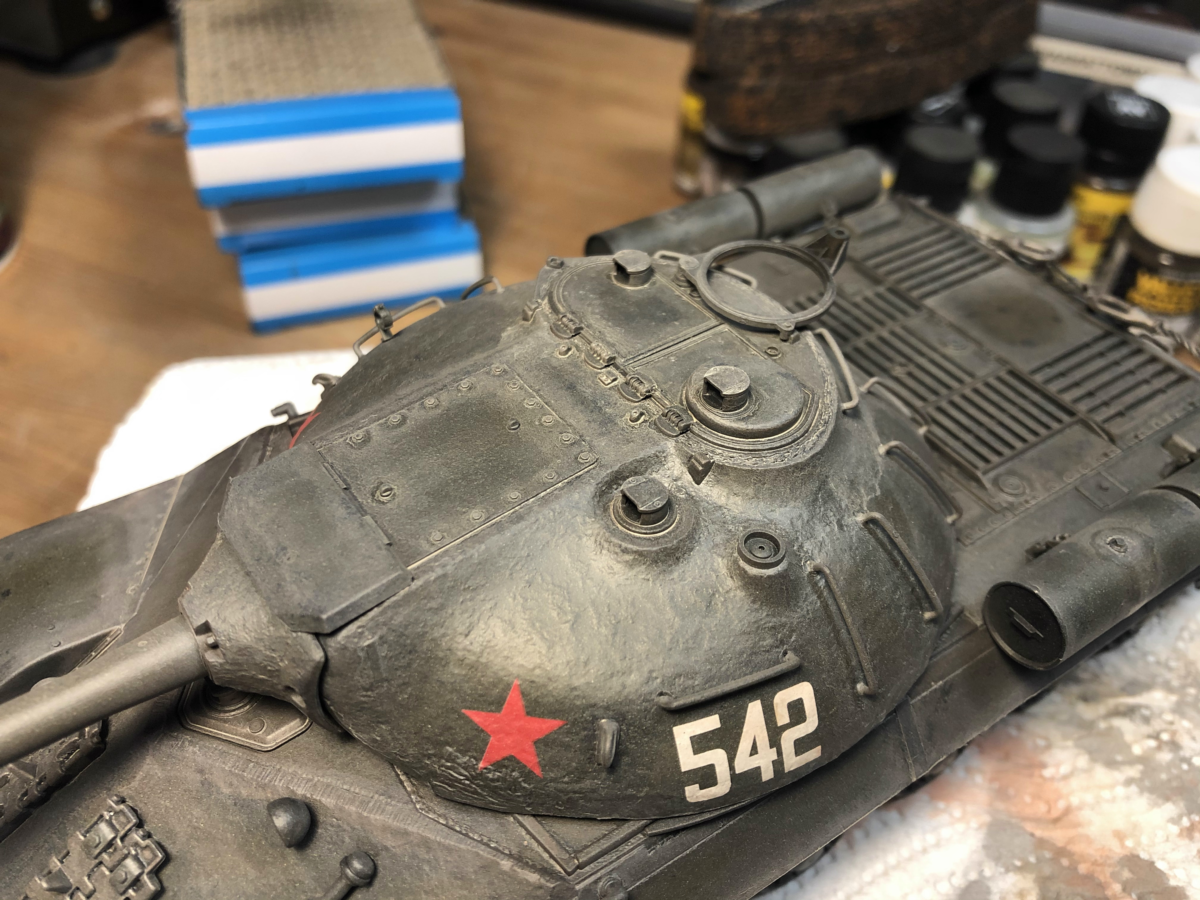
Making the dust effect with thinned down paint was easy and quick. I didn’t have khaki at hand so I used XF.-52 Flat Earth. I wanted to try adding rust effect in the same way using Vallejo Rust Wash thinned down with water and airbrushing it. Also that worked out very well but I just added a little too much on the turret top.

I knew I would add another coat of flat clear and some mud splash effect and that would make it less visible so I wasn’t worried.
Some might say I added a little too much of the splash mud but Soviet tanks are safe in that way. They can never look too trashed or too dirty. I mixed Vallejo Rain Marks, Vallejo Light Brown Splash Mud and water. I applied it by dipping an old toothbrush in the mix, removing the excess with a piece of toilet paper and just gently bending and releasing the brushes with my index finger. Another thing learned from YouTube.
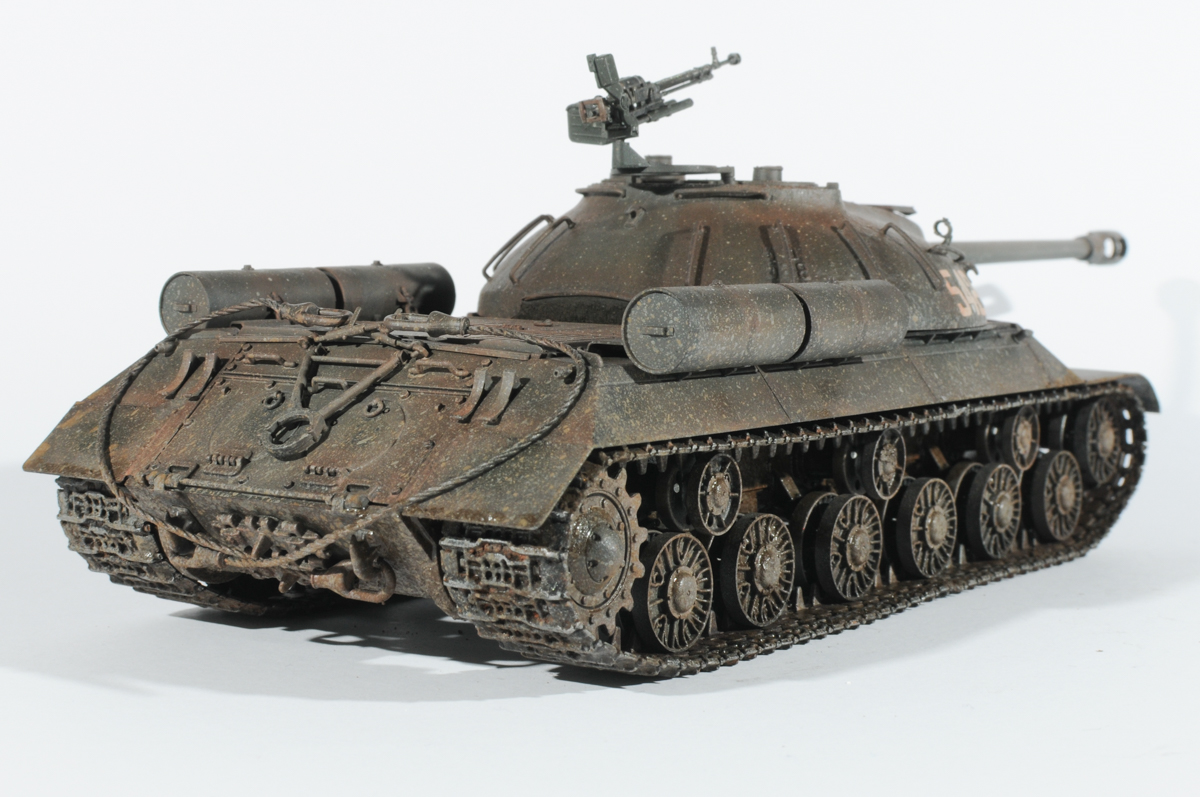
This IS-3 was a nice learning experience. I will need to go easier on some of the things in my upcoming builds but I will definitely be using these weathering tricks again.
Let me know what you think in the comments section below. I’m also happy to answer any questions. Cheers!
All the details you need to know about this kit in Scalemates: https://www.scalemates.com/kits/tamiya-35211-js3-stalin–133040
Really nice, good luck with the site
Thanks King! Let’s see how it takes off.
That looks fantastic. Nice description on the techniques you used. Since I’ve gotten back in to modeling, I’ve been focused on aircraft but after seeing your builds as well as others I may have to try a couple of tanks. Tanks really lend themselves to playing around with a lot of different weathering techniques.
Thanks Mark!
I used to build airplanes as a kid but now it’s been tanks thanks to World of Tanks. I thought I’d practice with them first and trash them as much as like to and then, at some point I’d try those more sophisticated airplanes again. I do have the Tamiya 1/48 F-14 in my stash waiting.